

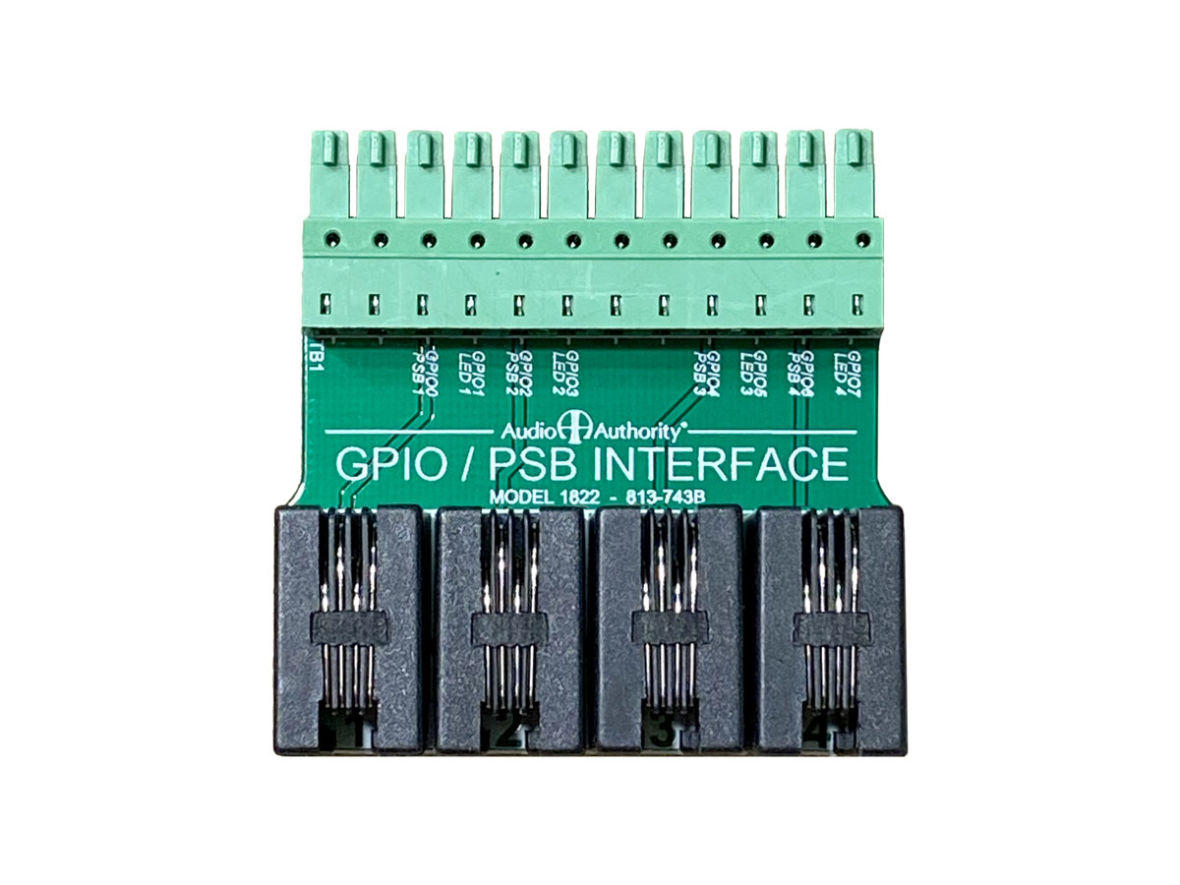
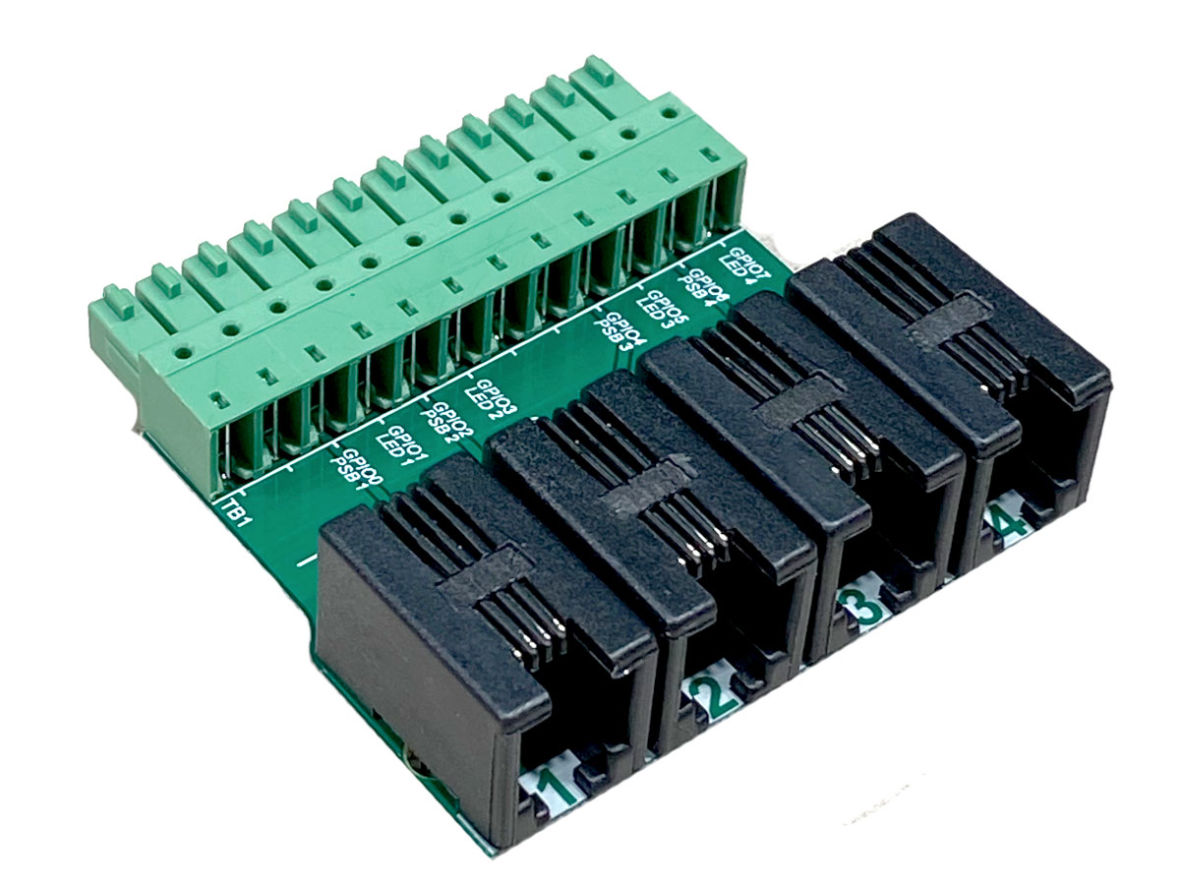
Top view
GPIO Interface
Model 1822Features:
- BrightSign® GPIO port adapter
- Customize button behavior using BrightAuthor
- Four button positions
- Custom behavior via Bright Author
- EasyPlug jack style (RJ9)
Categories: Interactive Switching, User Interfaces
 Angle view
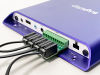 Installation
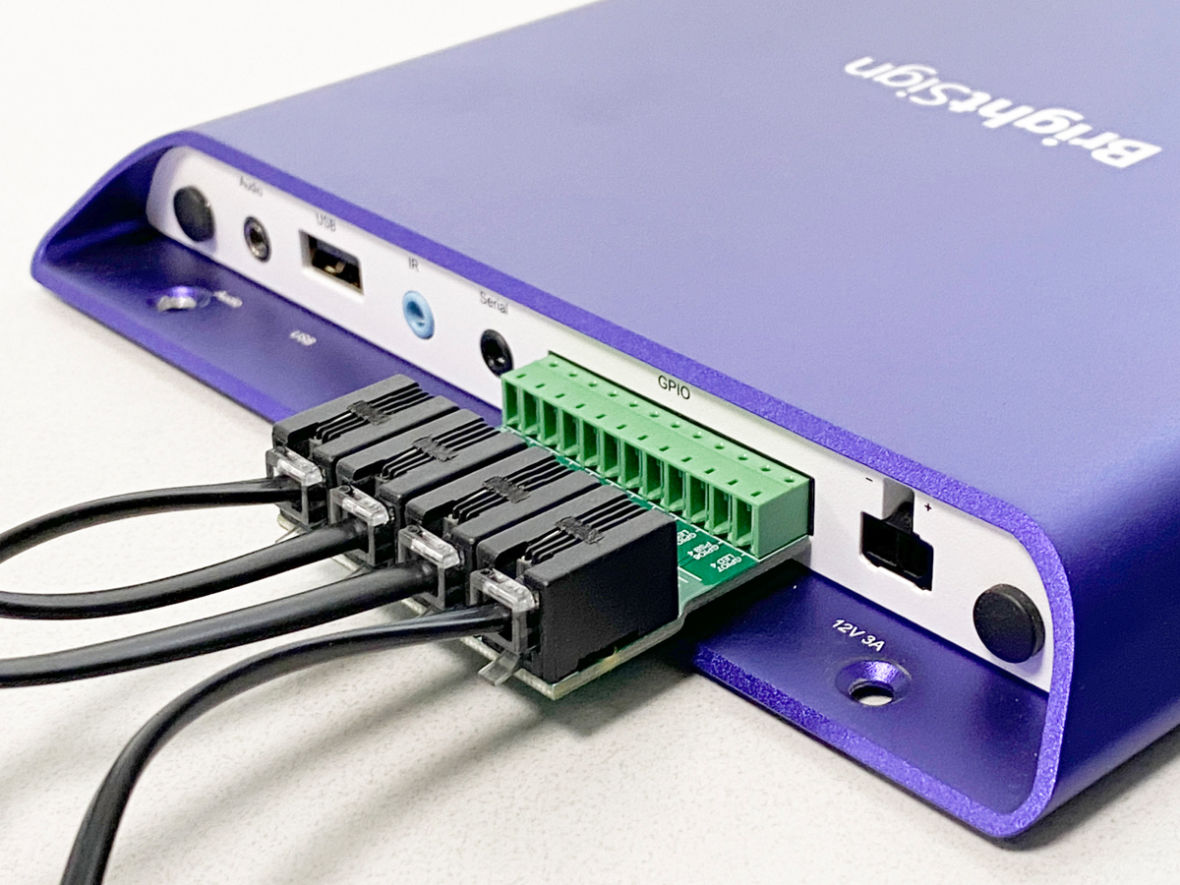
BrightAuthor Programming Tips
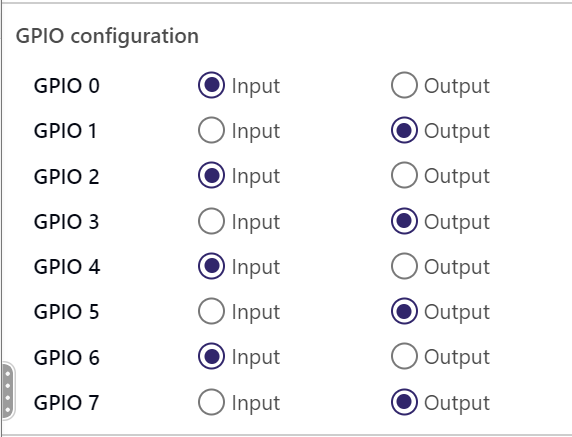
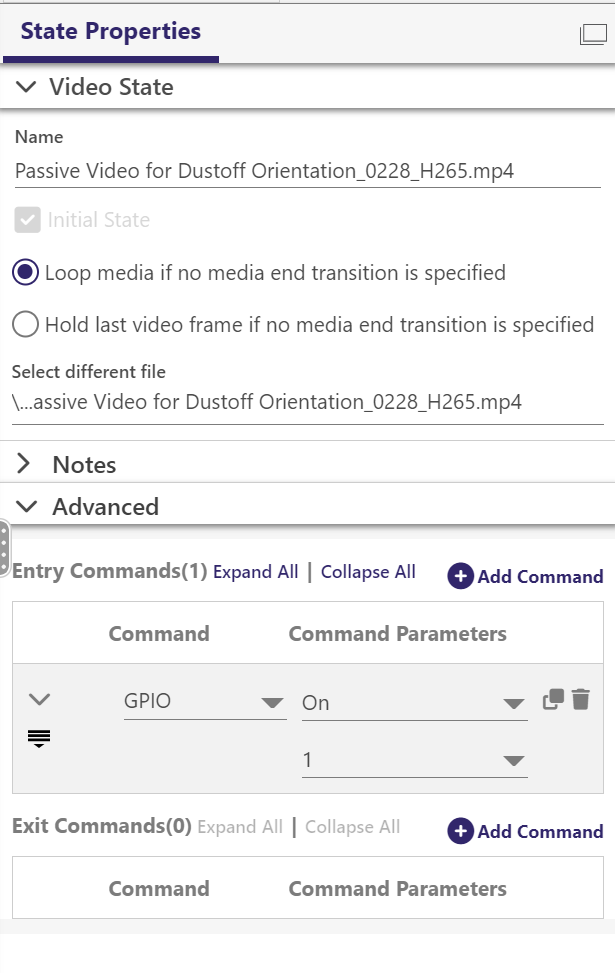
The GPIO mapping is also printed on the circuit board of the 1822. The Brightsign presentation must be set up to have GPIO inputs and outputs. If buttons do not work, it may be in the default "INPUT" only state.
Below is the correct setup under presentation properties, interactive, GPIO configuration:
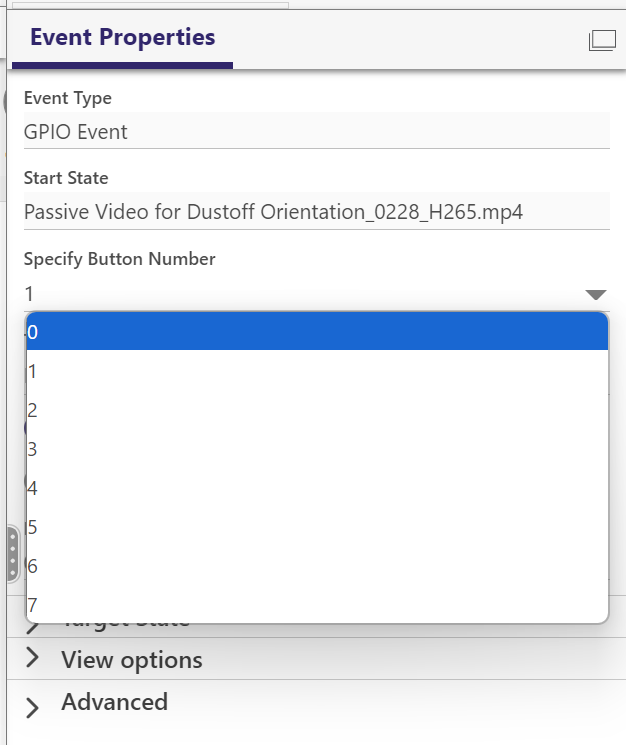
Also, check that you are mapping the button press GPIO correctly. You must monitor GPIO 0, not GPIO 1 (see below).
The following shows how to set the LED output "ON" in the "home" state of the presentation:
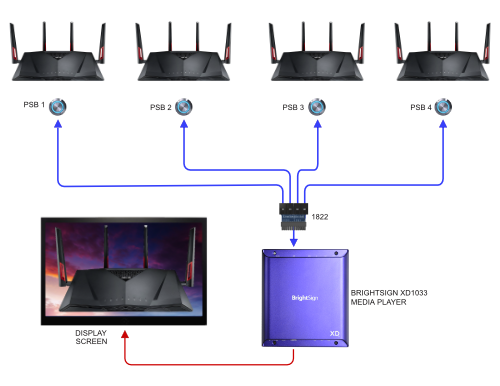
Control a BrightSign XD1033 via Push-Buttons
The Model 1822 allows four modular push-buttons to interface directly with the BrightSign XD 1033 GPIO ports. Using BrightAuthor, each button may be assigned one or more custom functions.
Compatible devices: brightsign.zendesk.com/hc/en-us/articles/218065937-GPIO-Which-pins-correspond-to-which-buttons-Example
A button press allows a custom video track to play when each product is selected.
BrightSign®
Authorized Partner
Downloads
- Literature
- 1822 Focus Sheet
 954.14 KiB Model 1822 GPIO to push-button adapter.
- 1822 Focus Sheet
- Manuals
- 1822 Product Manual 960.53 KiB Model 1822 GPIO adapter
- 1822 Product Manual